

Test Cyberpunk Portrait
Transform your photo into a cyberpunk scene
Recommended Prompts


A dramatic, high-contrast portrait with eerie red smoke and a ghostly double exposure. The scene feels tense, cinematic, and charged with psychic energy.
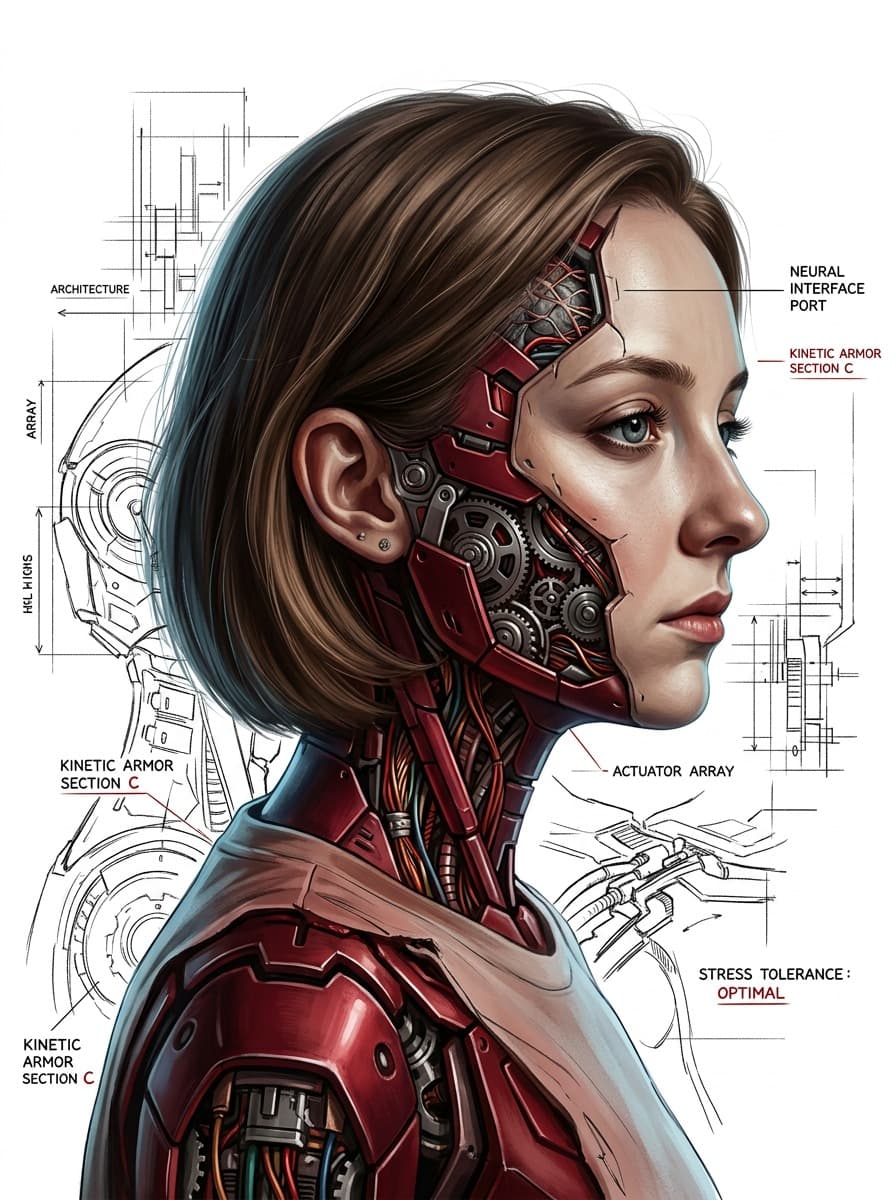
Transform your portrait into a hyper-realistic half-cyborg character with striking mechanical details. The result feels cinematic, emotional, and digitally illustrated against a clean sketch-inspired backdrop.


Create a polished romantic collage with layered black-and-white portraits, love-themed decorations, and soft pastel styling. The result feels elegant, dreamy, and editorial.


Experience the raw power of nature as you stand before towering, frozen waves in a dramatic cinematic landscape.


Step into a world of ethereal high fashion where you are draped in shimmering celestial sequins amidst a vibrant, swirling galaxy.


A sophisticated black and white transformation that weaves your portrait into the architecture and energy of a bustling metropolis.